Devcontainers in VS Code: Setup for Secure Development
Setting up devcontainers in VS Code involves installing the extension, configuring the devcontainer.json file, and optionally using a Dockerfile or docker-compose.yml. That is it, but you can make this setup more secure and useful with a few additional modifications.
Key Takeaways
- Install the Dev Containers extension in VS Code
- Create and open a new folder for your project
- Use the VS Code command palette option Dev Containers: Add Dev Container Configuration Files to initialize
- Decide whether you want to use a base Docker image, a custom Dockerfile, or a docker-compose.yml file
- Update the remoteUser option to not be root for extra security
- Customize with extensions
- Get back to coding
Outline
- Prerequisites
- Install the VS Code Extension
- Initialize Your New VS Code Workspace
- Securing Containers for Secure Development
- Customize the Container with Extensions and Features
- FAQ: Devcontainer VS Code and Security
Prerequisites
This article assumes you have the following installed on your system:
Install the VS Code Extension
Using devcontainers in your workflow is easy. You only need one extension. Open VS Code, go to the Extensions marketplace, and search for the official Dev Containers extension from Microsoft.
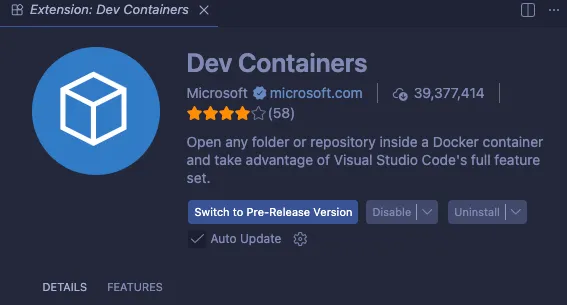
Once that is installed, you have what you need to set up devcontainers.
Initialize Your New VS Code Workspace
For this example, we will start a project from scratch. Devcontainers can absolutely be added to existing projects later, but they are easiest to set up at the beginning. So, let’s get started.
Dev Container Setup Steps
- Create a new directory for your project and open it in VS Code.
- Open the VS Code command palette with Ctrl + Shift + P on Windows or Cmd + Shift + P on Mac, then search for Dev Containers: Add Dev Container Configuration Files.
- Choose where to store the files:
- Add configuration to workspace (best for source control and collaboration)
- Add configuration to user data folder (for local-only use)
- Choose a base image. For this example, use Node.js by csutter.

- Choose your Node.js version (we will use latest).
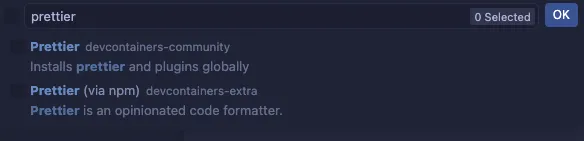
- Choose your features. For this example, add Prettier (via npm) to keep code clean.
With that, run your initial devcontainer build. Open the VS Code command palette again and search for Dev Containers: Rebuild and Reopen in Container. This will build the Dockerfile and start the container. When VS Code reloads, you will notice in your terminal that you have a Linux file system and only the files in your current directory. This is great for keeping your code separate from your host system, and that flexibility can make debugging config differences between local and remote machines much easier.
Now you can use your terminal as a normal development environment:
- Make directories
- Run
npm initornpm init -yif you want a quick test
Securing Containers for Secure Development
Security is more important now than ever, and that includes local development. Packages can be poisoned by supply chain attacks, or your AI of choice may try to run a questionable command. I wrote more about this in Stay Safer with Dev Containers, but for the sake of this article, let’s focus on an easy win. Usually, near the bottom of your new devcontainer.json file, you will see “remoteUser”: “root” commented out.
I highly recommend using a non-root user. This reduces your attack surface and helps prevent risky behavior inside the container, especially when AI tools are part of your workflow. In the current environment of supply chain attacks, every defensive layer helps. This can lead to file-permission issues, but the trade-off is usually worth it.
With the container config we chose, csutter already sets remoteUser to node, but that user is also given sudo privileges in the Dockerfile:
ARG USERNAME=node
RUN echo $USERNAME ALL=\(root\) NOPASSWD:ALL > /etc/sudoers.d/$USERNAME \
    && chmod 0440 /etc/sudoers.d/$USERNAME
Decide whether you are comfortable with that user having sudo privileges. If yes, leave it as-is. If not, remove those lines from the Dockerfile.
Customize the Container with Extensions and Features
With this setup, you can install extensions in VS Code that are specific to this project. This is done through the customizations area in devcontainer.json.
"customizations": {
"vscode": {
// Add the IDs of extensions you want installed when the container is created.
"extensions": []
}
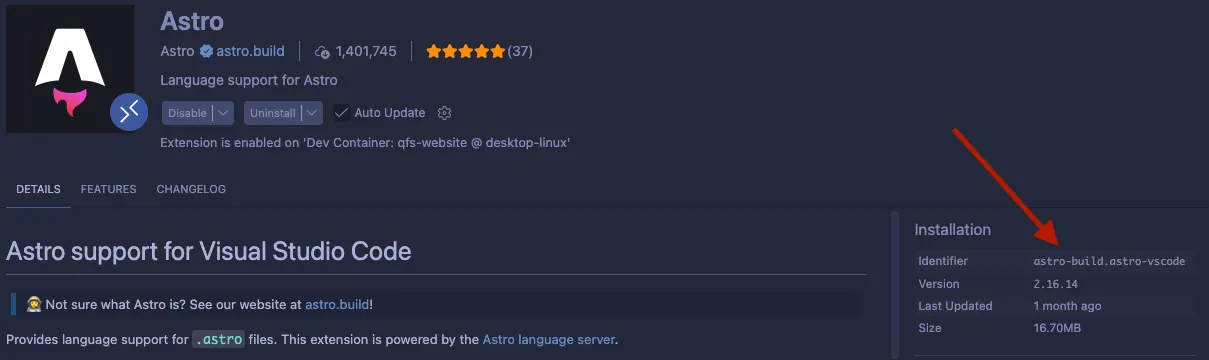
},For example, if you are building an Astro project, you can add the astro-build.astro-vscode ID to the extensions array: "extensions": ["astro-build.astro-vscode"]. You can find these IDs on the right side of the extension page in Visual Studio Marketplace.
Whenever you adjust your Dockerfile or devcontainer.json file, run Dev Containers: Rebuild Container or Rebuild Container Without Cache for changes to take effect.
If you are adding devcontainers to a project that has already been under development for a while, be aware that not running as root can lead to permission issues. You can use ls -la to inspect file ownership and chown in your Dockerfile when needed.
FAQ: Devcontainer VS Code and Security
| Question | Short Answer |
|---|---|
| What is devcontainer VS Code setup? | Devcontainer VS Code setup means configuring devcontainer.json (and optionally a Dockerfile) so VS Code opens your project inside a reproducible containerized development environment. |
| How do devcontainers help with secure development? | Devcontainers support secure development by isolating tools and dependencies from your host machine, reducing cross-project contamination and making environments easier to audit. |
| What does securing containers mean for local development? | Securing containers usually includes using non-root users, limiting sudo, pinning dependencies, and rebuilding containers when security-critical config changes. |